Laptop Neck Pain: Fix the Geometry Before You Buy Anything
A laptop screen sits about 14 inches below where OSHA says it should. Here is how to measure your own setup, and the cheapest way to close the gap.
By Ellis Warner, editor, hardware and workstation geometry
Published Aug 13, 2026 · 9 min read
- Updated August 13, 2026
- 9 min read
In this guide
The laptop is a compromise device. The screen is attached to the keyboard, so you can put one of them in the right place, never both. Put the keyboard where your hands want it and the screen ends up on your desk surface. Put the screen at eye level and you are typing at chest height.
Almost everyone resolves that by dropping their head. That is the neck ache, and no strap or chair fixes it, because the cause is a screen in the wrong place.
This guide is mostly free. There are two products at the end, and you should only reach them if the measuring section says you need them. If you have already fixed the screen height and still ache across the top of the back, that is where a posture corrector has a narrow, real case. If you are considering a sit-stand desk instead, the two purchases change different variables.
The geometry you are aiming at
OSHA's computer workstation guidance is specific enough to check yourself:
- Viewing distance between 20 and 40 inches from your eye to the front of the screen.
- Top of the monitor at or slightly below eye level.
- Centre of the screen 15 to 20 degrees below horizontal eye level.
- Screen no more than 35 degrees left or right of straight ahead, so your head, neck and torso face forward.
- Downward viewing angle never past 60 degrees in any working posture.
A laptop open on a desk typically puts the top of the screen somewhere around chest height when you are sitting up straight. The gap between that and "at or slightly below eye level" is what your neck closes for you, hour after hour.
Measure your own setup in five minutes
Do this at the desk you actually work at, in the clothes and chair you actually use. A measurement taken while sitting up deliberately straight is worthless, so work for ten minutes first and then check without adjusting yourself.
- Elbow height, seated. Feet flat, arms hanging, elbows bent to 90 degrees. Measure floor to elbow. Your keyboard surface wants to be within about an inch of that number. If your desk is higher, your shoulders are lifting all day.
- Eye height, seated. Same position, measure floor to the outer corner of your eye. The top of your screen should be at or just under that number.
- Actual screen top height. Measure floor to the top edge of your screen as it sits right now. Subtract from number two. That difference is your gap, and on a bare laptop it is usually 10 to 16 inches.
- Viewing distance. Fingertip to screen with your arm out is roughly 25 inches for most adults, which is inside the 20 to 40 inch window. If you are closer than that, you are probably leaning in because the screen is too low, not because it is too far.
- Screen angle. Have someone photograph you side-on while you work. Draw a horizontal line from your eye. If the centre of the screen sits far more than 20 degrees below that line, the geometry is the problem, not your discipline.
| Measurement | Target | What it means if you miss it |
|---|---|---|
| Keyboard height | Within ~1 in of seated elbow height | Too high lifts the shoulders all day, too low rolls them forward |
| Screen top | At or slightly below seated eye height | Every inch below is neck flexion you hold for hours |
| Screen centre | 15 to 20 degrees below horizontal eye level | Past that and the head drops rather than the eyes |
| Viewing distance | 20 to 40 in | Too close usually means you are leaning in to see |
| Screen offset | Within 35 degrees of straight ahead | Sustained rotation loads one side of the neck unevenly |
The free fixes, in order of effect
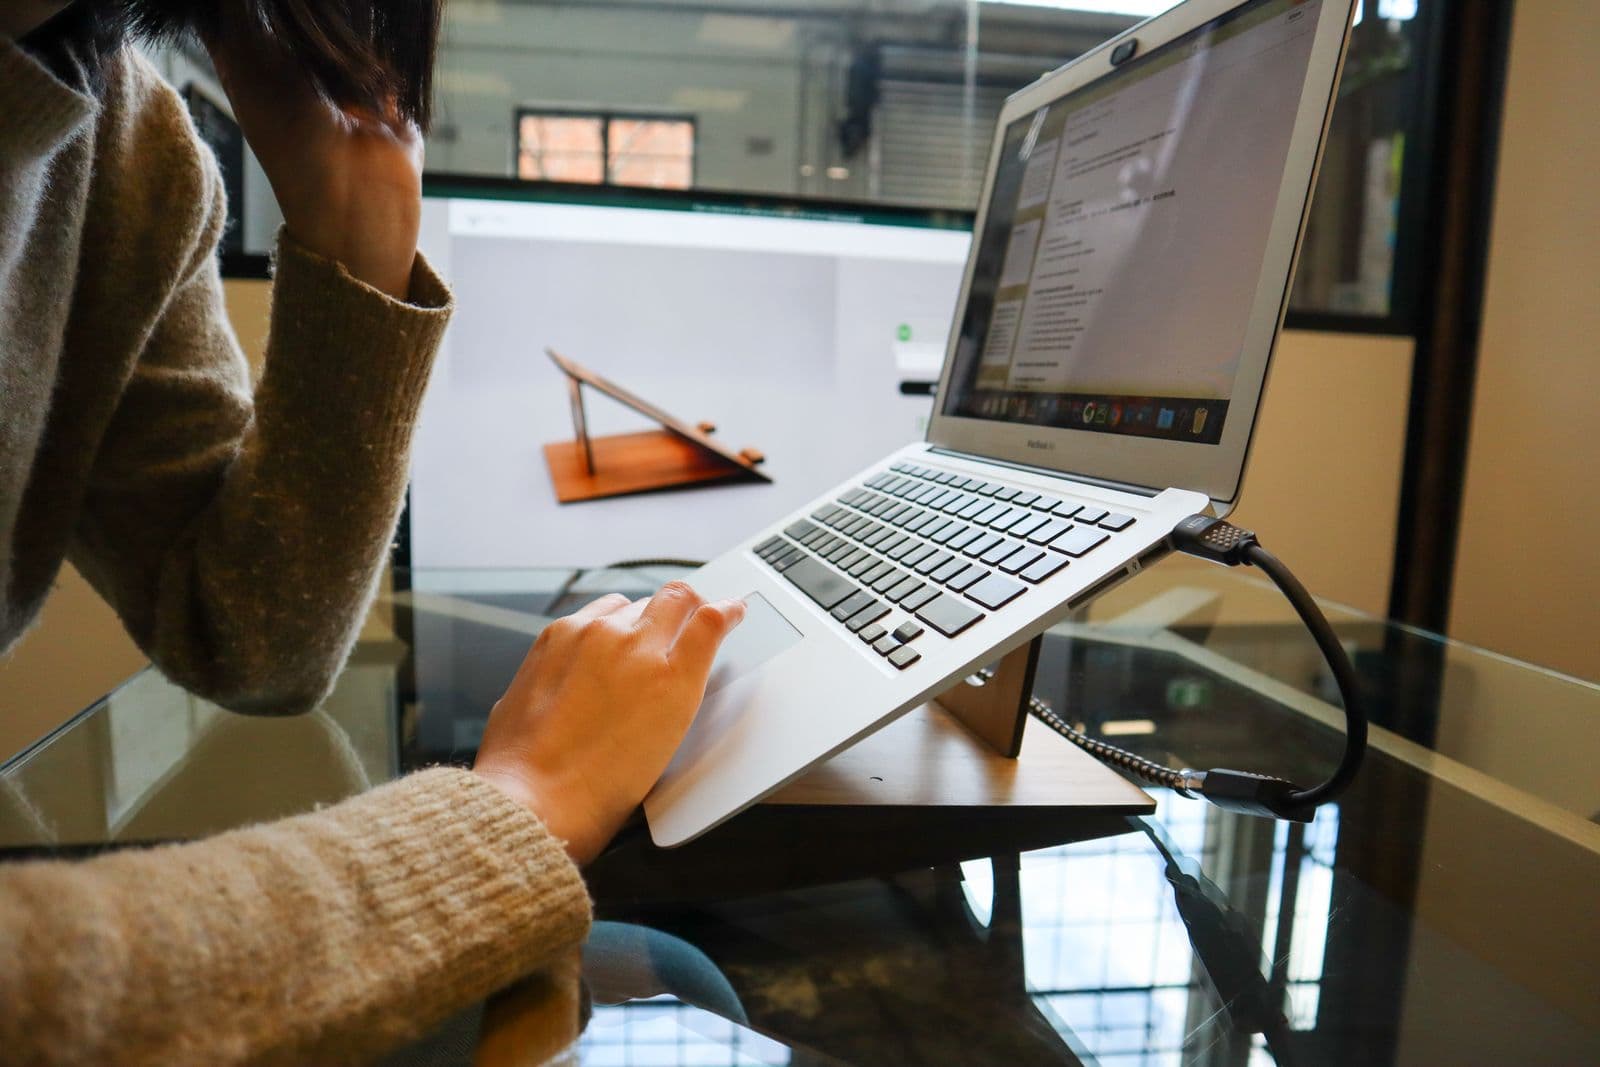
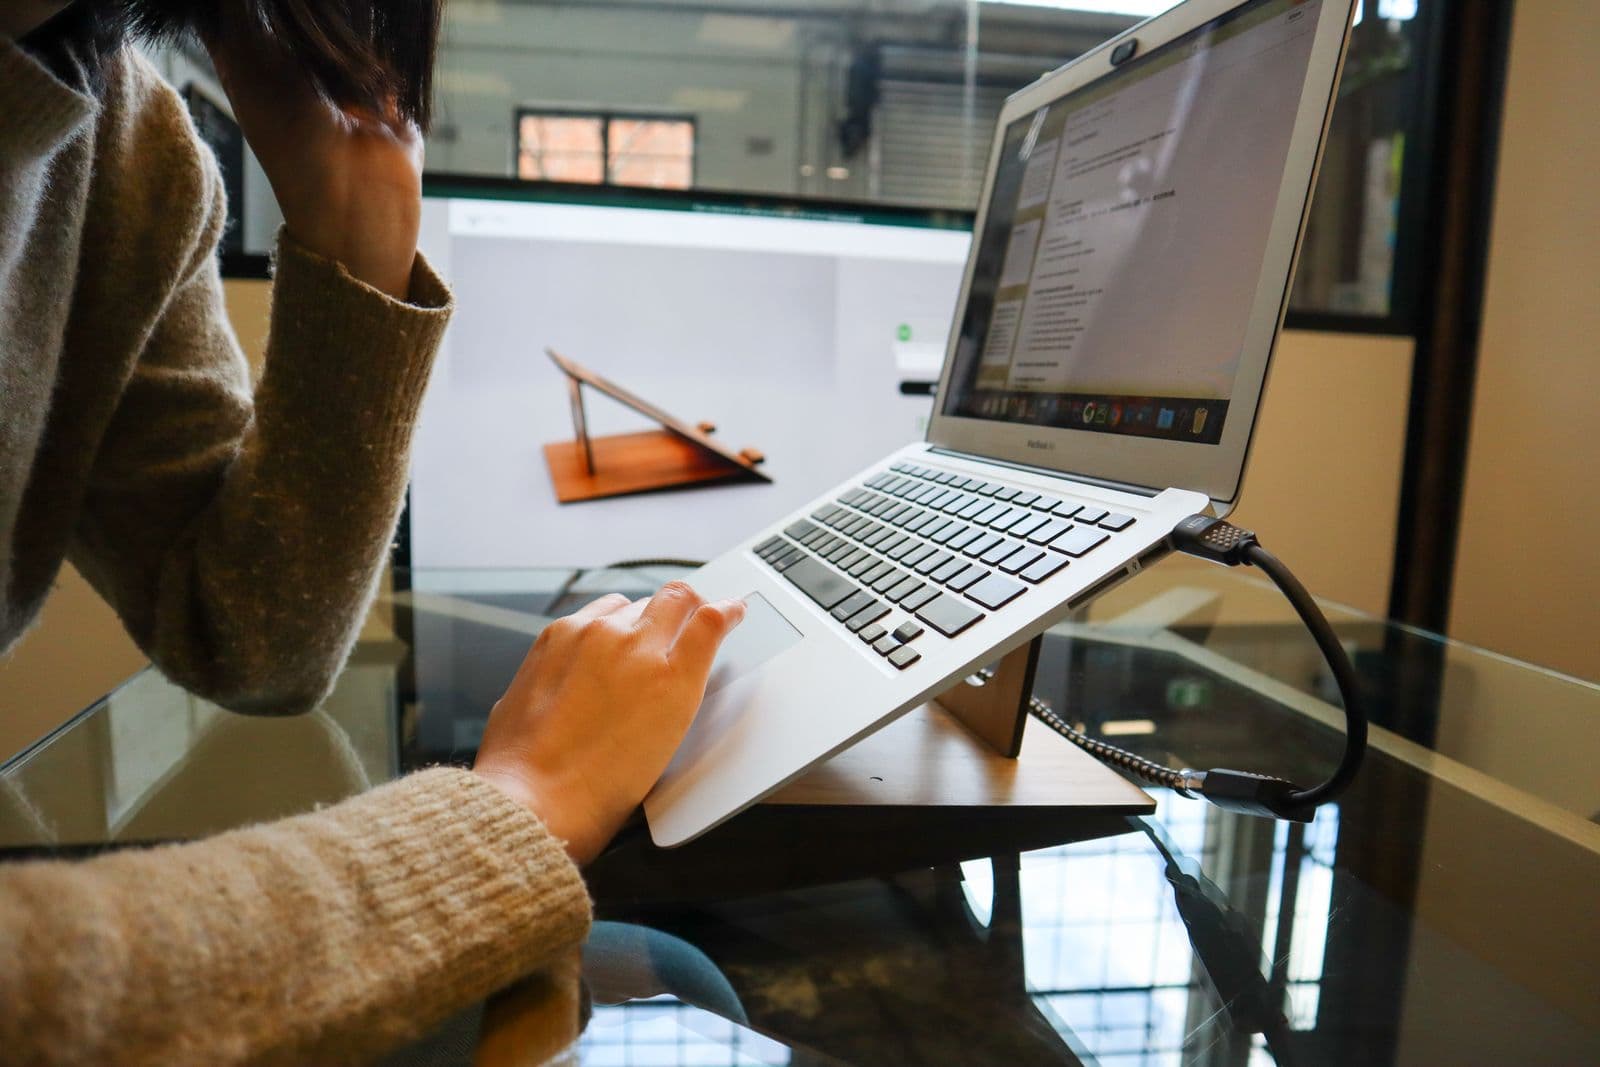
Raise the laptop with what you own. A ream of paper is about two inches. A stack of hardbacks gets you six to eight. This is ugly and it works, and it costs nothing to find out how much of your ache is geometry before you spend money on it.
Pair it with any external keyboard. This is the step people skip, and it is the one that makes raising the screen possible at all. Almost any keyboard you already own is fine.
Turn the screen down, not your head. Once the laptop is raised, tilt the lid so the surface faces your eyes. You are aiming to keep the eyes moving rather than the neck.
Move the mouse in. A mouse far out to the side pulls one shoulder forward and rotates the trunk, which shows up as one-sided neck ache. Keep it beside the keyboard, not beyond it.
Stop working from the sofa for long sessions. Nothing in this guide survives a laptop on your knees.
Get out of the chair on a schedule. The geometry fix removes the reason your neck flexes. It does not address holding any single position for four hours, and the break research is the cheapest thing on this page.
If your gap closes with books and a spare keyboard and the ache fades over a couple of weeks, you are done. Do not buy anything.
If you do need to buy something
Two categories, and the order of purchase is stand first, arm only if a stand cannot get there.

VIVO Single Monitor Arm
The reason to pick an arm over a stand is range and reclaimed desk depth. A full-motion gas-spring arm lifts, tilts, swivels and pushes the panel back, which is exactly the travel a fixed riser cannot give an external monitor.
We may earn a commission on this link. It never changes the ranking.
- Type
- Full-motion single monitor arm
- Mechanism
- Gas spring, height and tilt
- VESA
- 75 x 75mm and 100 x 100mm
- Mount
- Desk clamp or grommet
- Best paired with
- An external keyboard, always
What works
- Full range of height, tilt and swivel rather than one fixed position
- Pushes the monitor back, which recovers the viewing distance a stand eats
- Clears the desk surface underneath the screen
What to know
- Does nothing for a laptop screen unless you add a tray or a second display
- Needs a desk edge it can actually clamp to
- Overkill if your monitor already sits at the right height on its own stand
$25 to $60 together
Price checked Aug 13, 2026
A plain laptop riser and any external keyboard
This is the purchase with the best ratio of effect to cost in the whole category, and it is deliberately not a brand recommendation. Any rigid stand that reaches your measured gap, plus any keyboard you can type on, closes the geometry problem.
- What to buy
- Rigid stand, not a flexible cooling pad
- Height needed
- Your measured gap, from step 3 above
- Keyboard
- Anything, including one you already own
- Skip
- Adjustable sit-stand converters until the basics are fixed
What works
- Closes the single biggest geometry gap most desk workers have
- Cheap enough to try before committing to a desk or a chair
- Portable, which matters if you work in more than one place
What to know
- You lose the laptop keyboard, so the external one is mandatory rather than optional
- A stand that does not reach your measured gap is money wasted
- Does nothing for keyboard height if your desk is also wrong
The bottom line
Measure the gap between your seated eye height and the top of your screen. On a bare laptop it is usually more than a foot, and that gap is the neck ache. Close it with books and a spare keyboard first, because that costs nothing and tells you whether geometry was the problem.
If it was, buy the cheapest rigid stand that reaches your measured number, or an arm if you are on an external monitor and want the desk depth back. Neither purchase needs to be expensive, and both beat any brace at fixing a screen that is in the wrong place.
Questions people actually ask
How high should my laptop screen be?
The top of the screen at or slightly below your seated eye height, with the centre of the screen 15 to 20 degrees below horizontal eye level, per OSHA's workstation guidance. Measure floor to eye corner while seated normally, then measure floor to your current screen top. The difference is what a stand has to close.
Do laptop stands actually help neck pain?
A stand only helps if it moves the screen enough to change the angle your neck holds, and only if you add an external keyboard so you can still type. Raising the screen without a separate keyboard makes the arm position worse instead.
Is a monitor arm better than a stand?
For an external monitor, an arm gives you more range and frees the desk depth a stand occupies, which helps you hit the 20 to 40 inch viewing distance. For a laptop, a stand plus a keyboard is cheaper and does the same geometric job.
What about forward head posture exercises?
Movement and strength work have a place, but doing them for ten minutes while spending seven hours with your screen a foot too low is fighting the wrong variable. Fix the geometry first, then decide whether you still need the exercises.
How far away should the screen be?
Between 20 and 40 inches from eye to screen surface. If you find yourself closer than that, check whether you are leaning in because the text is small or because the screen is too low, since those have different fixes.
Sources
- OSHA Computer Workstations eTool, monitor placement section, for viewing distance, screen height and viewing-angle targets. osha.gov
As an Amazon Associate we earn from qualifying purchases. We earn a commission on some links, at no extra cost to you. It never changes which products we recommend or how they score. Full disclosure

Who wrote this
Editor, hardware and workstation geometry
Ellis Warner edits A Better Posture and writes the hardware side of it: desks, chairs, monitor arms and the measurements that decide whether any of them help. He reads the specification sheet, the warranty and the returns policy in full before he reads a single review, because that is where the differences between two apparently identical products actually live.
More from EllisThe standard
How this guide was built
- Manufacturer specification sheets and warranty terms, read in full rather than summarised from a listing.
- Published clinical trials and standards bodies where they exist, cited by name and linked.
- Owner reports at volume, including the one-star reviews, which is where failure modes live.
- Every price checked against the live listing on the date printed beside it.